Container orchestration is all in hype. And there are different ways of running containers on AWS, using either EKS or ECS. EKS uses K8S behind the scenes and ECS uses AWS proprietary technologies.With EKS it's easy to migrate containers from one Cloud to another, but not with ECS. In fact Google Cloud Anthos makes it easy to manage K8S across Clouds and on premise.

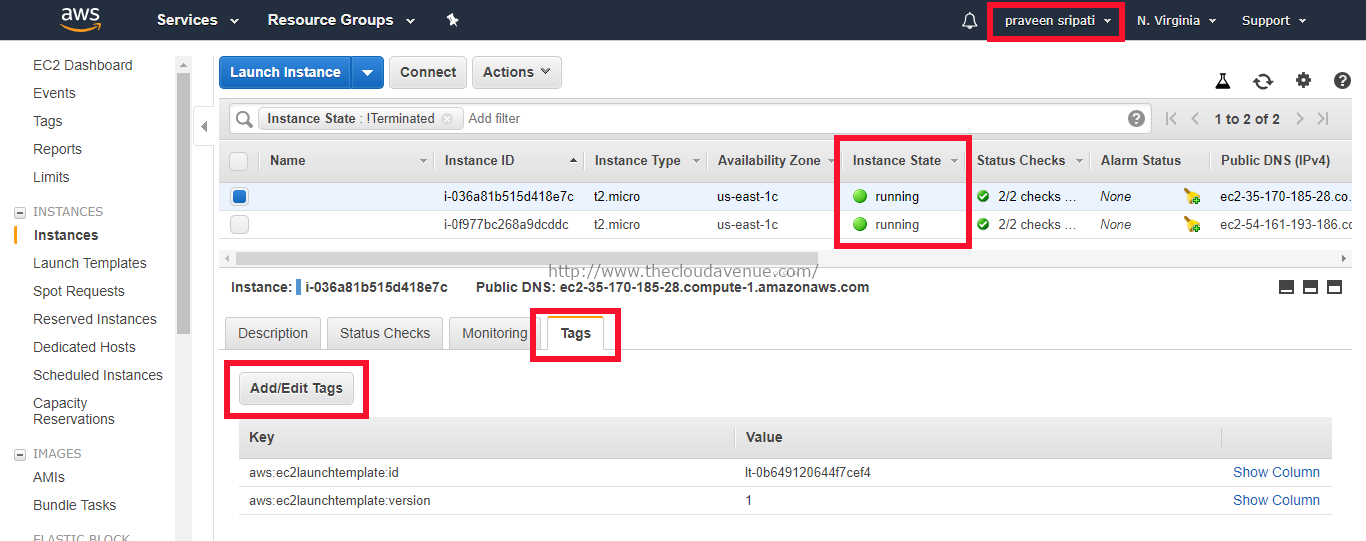
Step 1: Create an Ubuntu EC2 Instance (t2.micro) and connect to it. On this Instance we would be running the eksctl and other commands for creating the AWS EKS Cluster.
Step 2: Execute the below commands on Ubuntu to create key pairs and install AWS CLI, aws-iam-authenticator, kubectl and eksctl softwares.
#installation of the required software
curl -s https://packages.cloud.google.com/apt/doc/apt-key.gpg | sudo apt-key add -
echo "deb https://apt.kubernetes.io/ kubernetes-xenial main" | sudo tee -a /etc/apt/sources.list.d/kubernetes.list
sudo apt-get update
sudo apt-get install -y python3-pip kubectl
pip3 install awscli --upgrade
export PATH="$PATH:/home/ubuntu/.local/bin/"
curl --silent --location "https://github.com/weaveworks/eksctl/releases/download/latest_release/eksctl_$(uname -s)_amd64.tar.gz" | tar xz -C /tmp
sudo mv /tmp/eksctl /usr/local/bin
Step 3: Get the access keys for the root and provide them using the `aws configure` command.

With the EKS, AWS has announced Managed Node Groups which takes away the burden of maintaining the K8S worker nodes. In the recent re:Invent 2019 AWS announced another exiting feature around EKS. Now, it's possible to run EKS the Fargate way as mentioned in the above diagram as Option 3. The rest of the options had been there for some time. AWS Fargate follows the serverless pattern and there is no need to think in terms of number of EC2 and size of them. All we need is to create an EKS Cluster and run the Pods on them. We exactly pay for the vCPU and Memory resources consumed by the Pods.
Here are the steps for creating an AWS EKS Cluster using the eksctl via Fargate approach.
Step 1: Create an Ubuntu EC2 Instance (t2.micro) and connect to it. On this Instance we would be running the eksctl and other commands for creating the AWS EKS Cluster.
Step 2: Execute the below commands on Ubuntu to create key pairs and install AWS CLI, aws-iam-authenticator, kubectl and eksctl softwares.
#installation of the required software
curl -s https://packages.cloud.google.com/apt/doc/apt-key.gpg | sudo apt-key add -
echo "deb https://apt.kubernetes.io/ kubernetes-xenial main" | sudo tee -a /etc/apt/sources.list.d/kubernetes.list
sudo apt-get update
sudo apt-get install -y python3-pip kubectl
pip3 install awscli --upgrade
export PATH="$PATH:/home/ubuntu/.local/bin/"
curl --silent --location "https://github.com/weaveworks/eksctl/releases/download/latest_release/eksctl_$(uname -s)_amd64.tar.gz" | tar xz -C /tmp
sudo mv /tmp/eksctl /usr/local/bin
Step 3: Get the access keys for the root and provide them using the `aws configure` command.
Step 4: From here on use the steps mentioned in AWS Blog 'Amazon EKS on AWS Fargate Now Generally Available'.
Note that there is a cost associated for running the EKS K8S Cluster and also for the NAT Gateway which is part of the VPC created in the above steps mentioned in the AWS Blog (Step 4). Also, make sure to delete the EKS Cluster and any other AWS resources created as part of the sequence of steps.