In this blog, we would be installing WordPress which is a popular CMS (Content Management System) on EC2 and RDS. The WordPress software is widely used to create blogs and web sites. This configuration is not recommended for production. At the end of the blog, the additional tasks to be done to make the entire thing a bit more robust would be mentioned. The end product is as below.

The WordPress software would be running on a Ubuntu EC2 instances and the data would be stored in MySQL RDS instance. Starting the RDS takes time, so first we would start the RDS instance and then the EC2 instance with WordPress on it.
Step 0 : Go to the RDS Management Console and click on 'Get Started Now'.
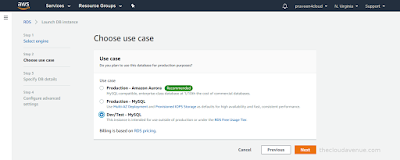
Step 1 : Select the MySQL as the database engine and click 'Next'.

Step 2 : Go with the 'Dev/Test - MySQL' as it covered under the 'Free Usage Tier' and click 'Next'.
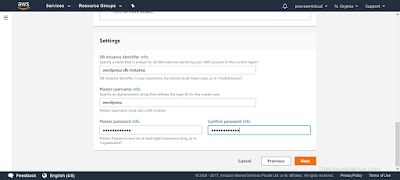
Step 3 : Select 'db.t2.micro' as it falls under the 'Free Usage Tier'. Specify the appropriate DB instance identifier, username and the password. Click 'Next'.


Step 4 : It's a good practice to keep the database not publicly accessible. But if you want to access the data from your local machine by using MySQL WorkBench or some other client, then it needs to be public. For the sake of the WordPress, making it private would be good enough. Change the backup retention period to 0, as we don't have any critical data for now.


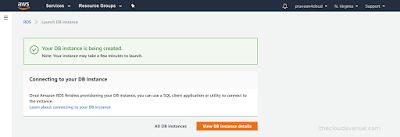
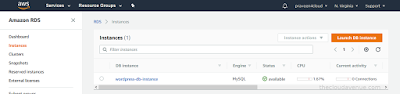
Step 5 : The database should start in a few minutes. The status should change to available.

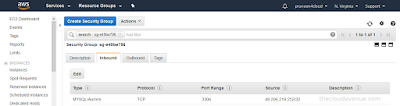
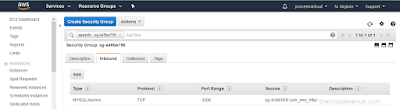
Step 6 : The RDS Security Group is a bit restrictive. Modify the inbound source to match the Security Group to which the EC2 instance will be attached later. By specifying a VPC security group as the source, you allow incoming traffic from all instances (typically application servers) that use the source VPC security group (1).

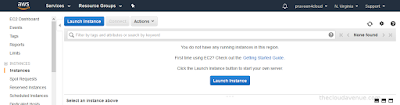
Step 7 : Go to the EC2 Management Console and launch an instance.
Step 8 : Select Ubuntu Server as the WordPress installation commands are specific to Debian based systems.

Step 9 : Stick to 't2.micro' for the same above mentioned reason.
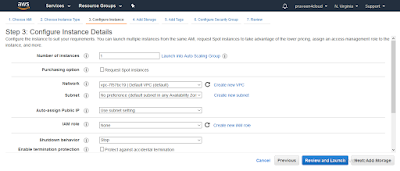
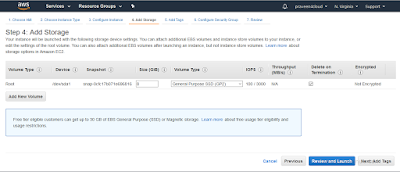
 Step 10 : In the configure instance details and add storage options, the default options should be good enough.
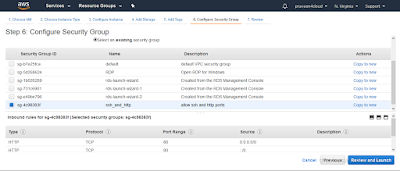
Step 11 : In the Security Group add a new or use an existing one. Port 22 and 80 have to opened. 22 for accessing the EC2 using ssh and 80 for accessing the WordPress site. This Security Group has to be associated with the RDS Security Group as mentioned in the above Step 6.
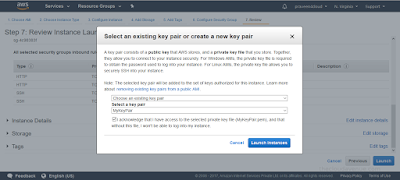
Step 12 : Associate the EC2 with the KeyPair.
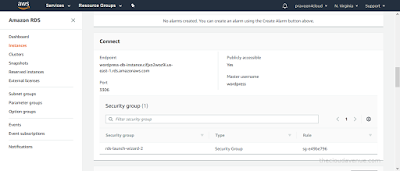
Step 13 : Go back to the RDS Management Console and note down the RDS Endpoint. This would be later provided in the WordPress configuration files, for WordPress to connect to the the RDS instance.
Step 14 : Putty into the EC2 instance and execute the below commands to install WordPress and the required softwares.
a) To become root.
f) By default the web server expects the web pages in the /var/www/html folder, but the WordPress has been installed in the /var/www/wordpress folder. Modify the 000-default.conf file in the /etc/apache2/sites-enabled folder to change the DocumentRoot to /var/www/wordpress.

g) For the changes to take effect the apache web server has to be restarted. Execute the below command.


The WordPress software would be running on a Ubuntu EC2 instances and the data would be stored in MySQL RDS instance. Starting the RDS takes time, so first we would start the RDS instance and then the EC2 instance with WordPress on it.
Step 0 : Go to the RDS Management Console and click on 'Get Started Now'.

Step 1 : Select the MySQL as the database engine and click 'Next'.

Step 2 : Go with the 'Dev/Test - MySQL' as it covered under the 'Free Usage Tier' and click 'Next'.

Step 3 : Select 'db.t2.micro' as it falls under the 'Free Usage Tier'. Specify the appropriate DB instance identifier, username and the password. Click 'Next'.


Step 4 : It's a good practice to keep the database not publicly accessible. But if you want to access the data from your local machine by using MySQL WorkBench or some other client, then it needs to be public. For the sake of the WordPress, making it private would be good enough. Change the backup retention period to 0, as we don't have any critical data for now.


Step 5 : The database should start in a few minutes. The status should change to available.


Step 6 : The RDS Security Group is a bit restrictive. Modify the inbound source to match the Security Group to which the EC2 instance will be attached later. By specifying a VPC security group as the source, you allow incoming traffic from all instances (typically application servers) that use the source VPC security group (1).

Before

After

Step 7 : Go to the EC2 Management Console and launch an instance.

Step 8 : Select Ubuntu Server as the WordPress installation commands are specific to Debian based systems.

Step 9 : Stick to 't2.micro' for the same above mentioned reason.


Step 11 : In the Security Group add a new or use an existing one. Port 22 and 80 have to opened. 22 for accessing the EC2 using ssh and 80 for accessing the WordPress site. This Security Group has to be associated with the RDS Security Group as mentioned in the above Step 6.

Step 12 : Associate the EC2 with the KeyPair.

Step 13 : Go back to the RDS Management Console and note down the RDS Endpoint. This would be later provided in the WordPress configuration files, for WordPress to connect to the the RDS instance.

Step 14 : Putty into the EC2 instance and execute the below commands to install WordPress and the required softwares.
a) To become root.
sudo sub) Install the below softwares
apt-get update
apt-get install apache2 php php-mysql php-curl mysql-client libapache2-mod-php unzip
c) Download WorsPress and unzip it.
cd /var/www/
wget https://wordpress.org/latest.zip
unzip latest.zip
d) Make a copy of the wp-config-sample.php file as wp-config.php.
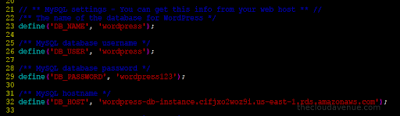
cd wordpress
cp wp-config-sample.php wp-config.php
e) Modify the wp-config.php to include the database details.

f) By default the web server expects the web pages in the /var/www/html folder, but the WordPress has been installed in the /var/www/wordpress folder. Modify the 000-default.conf file in the /etc/apache2/sites-enabled folder to change the DocumentRoot to /var/www/wordpress.

g) For the changes to take effect the apache web server has to be restarted. Execute the below command.
service apache2 restarth) All the wordpress files belong to the root user and group. Change the permissions using the chown command.
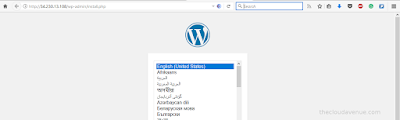
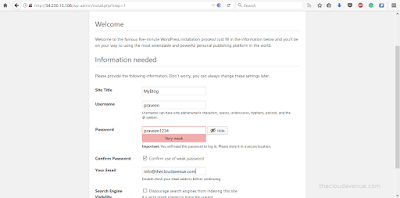
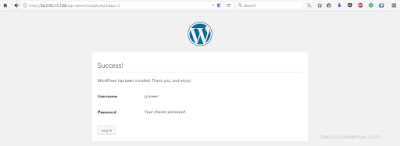
chown -R www-data:www-data /var/www/wordpressStep 15 : Get the public ip of the EC2 and access the same from the browser and follow the instructions to get started with WordPress.


Going Further
As mentioned this blog is about the basic steps to get started with WordPress on AWS and not for putting the site in Production. A lot can be done to make the WordPress site robust. Here are a few of them.
- Create an EBS and attach it to EC2.
- Take a backup of EBS at regular intervals as mentioned here.
- Use CloudFront to make the website load faster.
- Use EC2 AutoScaling to add more instances automatically as the site becomes popular.
- Add an Elastic Load Balancer to route the traffic across the instances.
- Get a friendly name for the site from Route53
- SSL Enable the Site
- Protect the site using AWS WAF and AWS Shield.
and a lot more. Also, here is an AWS articles on using AWS Elastic Beanstalk and Amazon Relational Database Service (RDS) services.
No comments:
Post a Comment